Cryptocurrency gives people direct ownership over their money, removing reliance on banks, payment processors, and centralized authorities. However, this freedom comes with responsibility. If you lose your private keys or expose them to attackers, your assets cannot be recovered. That’s why secure storage is the foundation of safe crypto ownership.
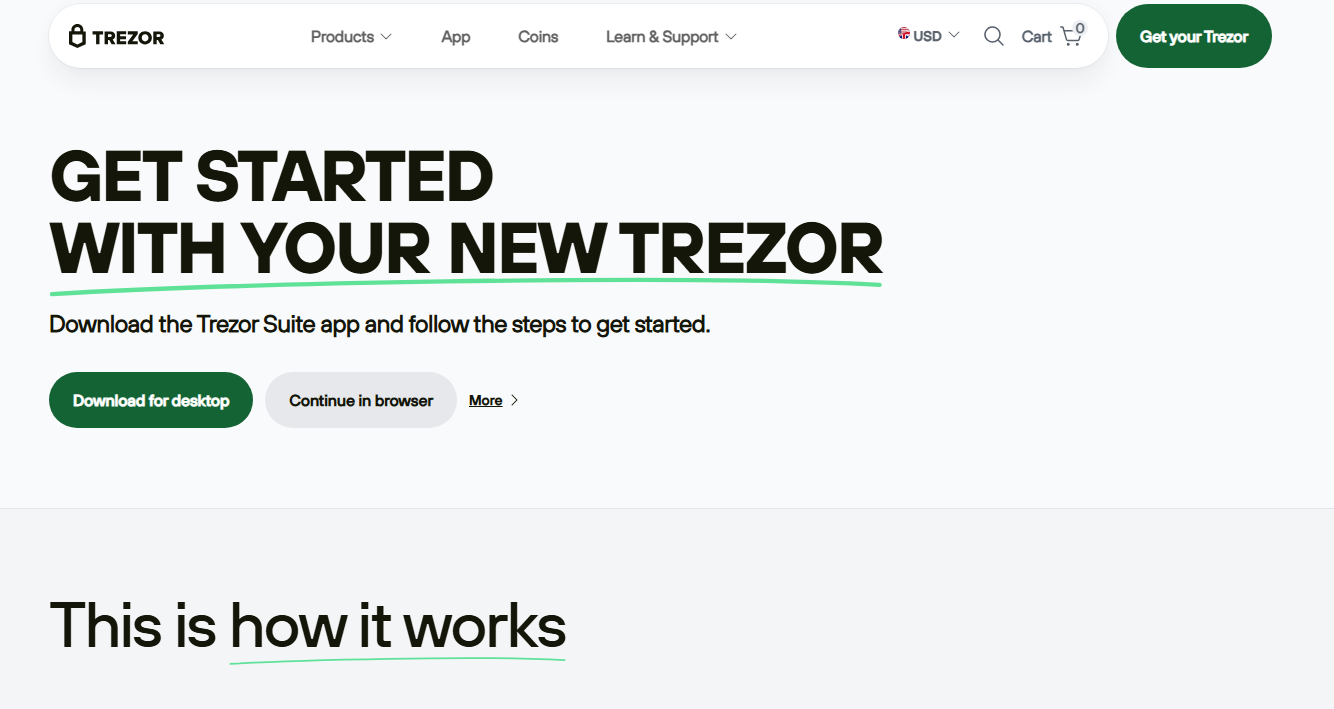
Trezor.io/start is the official onboarding portal designed by SatoshiLabs to help users initialize their Trezor hardware wallets correctly and safely. It guides users through installing trusted software, creating secure recovery backups, and verifying firmware authenticity before handling any digital funds.
This guide walks you through everything you need to know about Trezor.io/start — what it is, how it works, and why it is one of the most trusted starting points for crypto self-custody.
Trezor.io/start is the manufacturer-approved setup page for Trezor hardware wallets. It ensures that users complete wallet initialization using genuine software and verified firmware, protecting against fake apps, malicious updates, and phishing websites.
From this page, users can:
Using Trezor.io/start means your wallet setup follows industry-standard security practices from the beginning.
Storing cryptocurrency on exchanges or mobile wallets exposes private keys to online threats such as malware, phishing attacks, and remote hacking. Hardware wallets eliminate these risks by isolating keys inside a secure chip and requiring physical confirmation for transactions.
Trezor.io/start gives you safe access to this security model.
Trezor.io/start supports all current Trezor devices:
Both devices follow the same trusted setup workflow through Trezor.io/start.
Follow the steps below carefully to initialize your wallet safely.
Open your browser and manually enter:
trezor.io/start
Avoid sponsored links or unknown websites. Bookmark the official page for future use.
Choose your device type so that the setup instructions match your hardware.
Trezor Suite is the official application used to manage your wallet and assets. It allows you to:
Always download Trezor Suite directly from Trezor.io/start.
After installing:
The software will guide you through the remaining steps.
New devices may not ship with firmware installed. Trezor Suite will prompt you to install official firmware, ensuring your device runs trusted software before generating keys.
Choose “Create new wallet” to generate cryptographic keys inside your Trezor device. These keys never leave the hardware wallet.
Your Trezor device will display a 12-word or 24-word recovery seed, depending on your configuration. This phrase is your only way to restore access if your device is lost, damaged, or stolen.
You’ll be asked to confirm the seed before continuing.
Create a PIN to protect your device from unauthorized access. Trezor uses a randomized keypad system to protect against keyloggers.
Trezor supports enhanced security tools such as:
These can be enabled now or later.
After setup:
Your wallet is now ready for secure daily use.
Trezor Suite provides a powerful set of wallet management tools.
Track asset balances, values, and price movements in real time.
Trade cryptocurrencies directly within Trezor Suite using trusted exchange integrations.
Manage ERC-20 tokens and supported NFTs securely.
Use Tor routing, labeling, and coin control to enhance transaction privacy.
Install verified firmware updates to maintain device security.
Even with hardware protection, strong personal security habits remain essential.
Trezor will never request your recovery phrase — not by email, phone, or chat.
Only download Trezor Suite from Trezor.io/start.
Avoid simple PINs and enable passphrase wallets for added protection.
Use metal backups or fireproof storage for long-term safety.
Manage your wallet only on devices you trust.
Your crypto assets are not stored on the device — they exist on the blockchain. The Trezor wallet only protects your private keys.
If your device is lost or damaged:
As long as your recovery seed is safe, your crypto remains secure.
FeatureTrezor Hardware WalletSoftware WalletPrivate Key StorageOfflineOnlineProtection from MalwareVery HighModerateTransaction ConfirmationPhysical deviceSoftware-basedLong-Term StorageIdealLimitedRecovery MethodRecovery seedPassword/email
Trezor.io/start delivers superior security with usability.
Trezor.io/start guarantees:
Using unofficial sources greatly increases security risks.
Trezor.io/start is built for all experience levels:
No advanced technical skills are required.
Create hidden wallets protected by custom passphrases.
Split your recovery seed into multiple parts to reduce single-point failure risk.
Route network traffic through Tor for improved privacy.
Select transaction inputs manually for better privacy management.
Trezor Suite supports:
This allows seamless wallet management across platforms.
Trezor wallets do not rely on usernames, passwords, or email accounts. Security is based on:
This removes centralized points of failure.
Trezor firmware updates improve:
Always back up your recovery seed before updating firmware.
Trezor.io/start is ideal for:
Anyone who values self-custody and transparency benefits from Trezor hardware wallets.
Trezor is trusted globally because of:
Trezor.io/start plays a critical role in maintaining this trust.
Trezor.io/start is the safest and most reliable way to begin your journey with hardware wallet security. By following the official setup process — installing Trezor Suite, creating a secure PIN, backing up your recovery seed, and verifying firmware — users gain full ownership of their digital assets.
In a crypto ecosystem filled with scams, hacks, and exchange failures, Trezor.io/start offers peace of mind through offline key storage, open-source transparency, and verified software.